ℹ️ Locations is an upgraded feature available for Business and Enterprise Customers.
In this article:
Add Locations
To set up your Locations in ShareMyToolbox, click on Settings and then System Settings on the left menu. Once there, click to "enable locations" and remember to click "Save" at the bottom.
Once locations are enabled then click on the Locations menu in the Web Portal. There are 2 options to adding Location in ShareMyToolbox:
- One at a time using the + Add Locations button
- Bulk Import using the spreadsheet template
Adding Locations Manually - Web
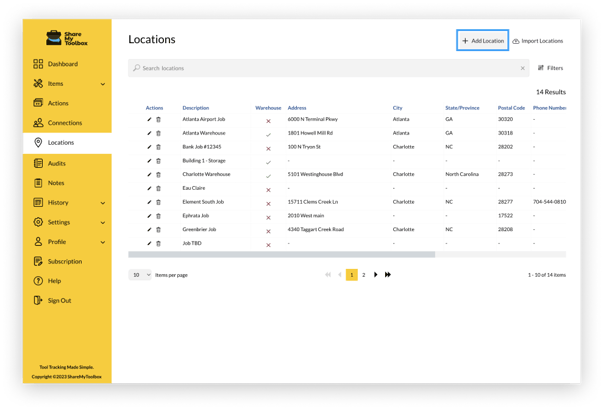
- Click the + Add Location button
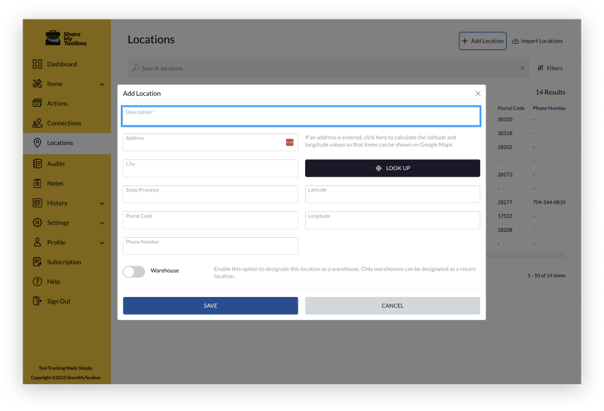
- The only required field is the Description
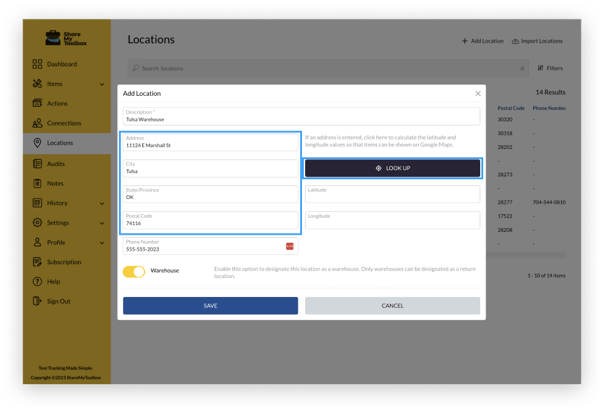
- If a physical location with an address, enter the address
- Click the LOOKUP button to automatically pull the latitude and longitude coordinates based on the address entered

- If the Location is a Warehouse, toggle the Warehouse option on.
See Edit options below for more options available after saving the Location.
Adding Locations Manually - Mobile
- The same process can be followed on the Mobile Device. Select Locations in the bottom right of the Mobile app dashboard to view your current Locations.
- Select +Add in the top right of the Locations interface.
- Employees can be granted the Add Locations permission in the Connections tab but by default, only Admins can add Locations.
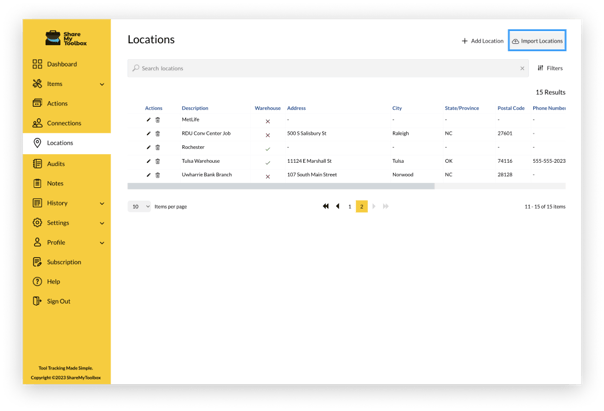
Adding Locations with Import
To import many Locations at once, click the Import Locations button in the Locations menu.
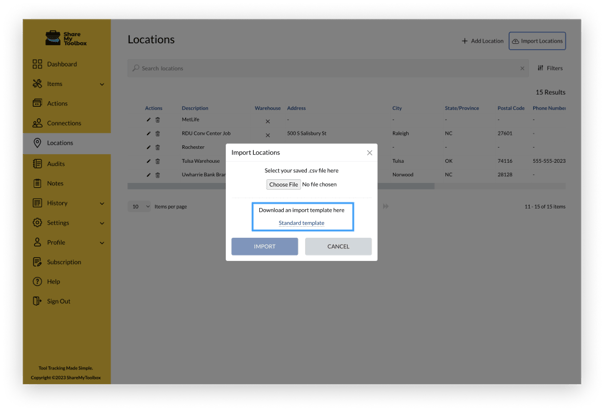
- If you don’t have the template already, click to download the file
Tip: If the file doesn’t download, some users may have to right-click (option-click for Mac) and select save-as.
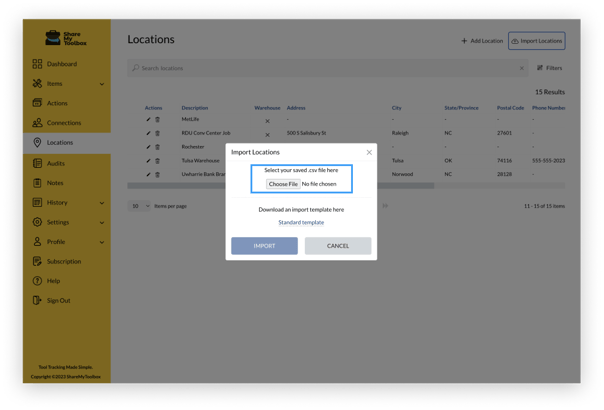
- Once you fill out the template, return to the Import option
- Click Choose File to upload your bulk Location spreadsheet
- Click IMPORT
Edit Locations

- Click the Edit button on the Location record you wish to edit
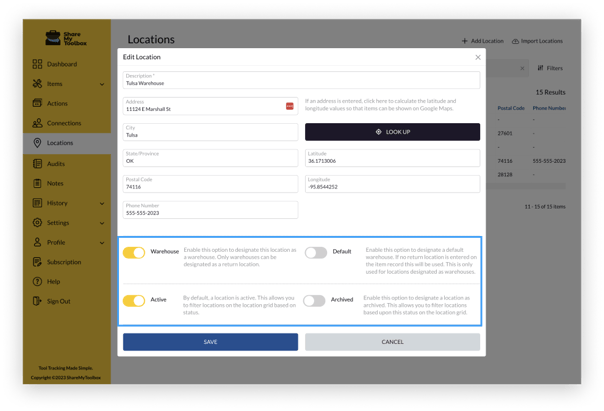
- Update any information on the Location record
- Note the following:
- Warehouse Default: Enable this option to designate a default warehouse. If no Home Warehouse location is entered on the item record this will be used. This is only used for locations designated as warehouses.
- Active: By default, a Location is Active. This allows you to filter Locations on the Location grid based on status.
- Archived: Enable this option to designate a Location as Archived. This allows you to filter Locations based upon this status on the Location grid.
- Click SAVE to save changes, or CANCEL to return without saving
Delete Locations

- Click the Delete icon on the Location record you wish to delete
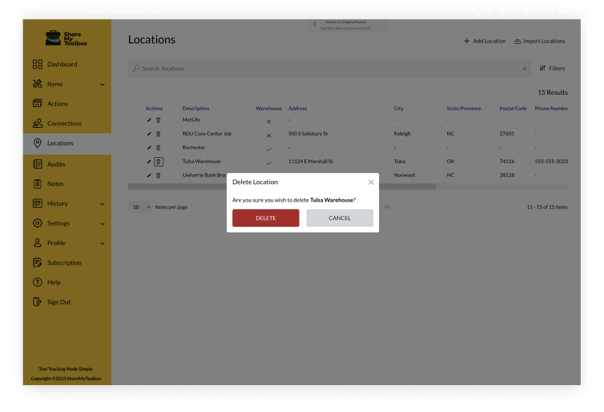
- Click DELETE to remove the Location or CANCEL to return without deleting
How do I assign a tool to a Job Location?
Once locations have been enabled and added then you can "Loan" tools to a location. To loan a tool to a location, first select an available tool. Then use the workflow action of "Loan" to send the tool to a Connection. When loaning a tool to a connection you will be able to also select a Location and a Due Back Date.
Remember, a connection is required in order to loan a tool. The connection can be an employee connection or a virtual connection. You must use the loan process to move tools from available at the warehouse to loaned on a jobsite.
If you intend to assign a tool to a location but do not have an Employee connection to associate with the loan, we'd recommend setting up a Virtual connection called "Location Only" to use when assigning tools to a jobsite only.