ShareMyToolbox is made up of two parts. A web interface and a mobile app. You should download the ShareMyToolbox app from your favorite app store before starting setup.
We recommend watching this video first for a quick start guide to setting up ShareMyToolbox for your company:
The setup process consists of five steps, and few additional optional steps
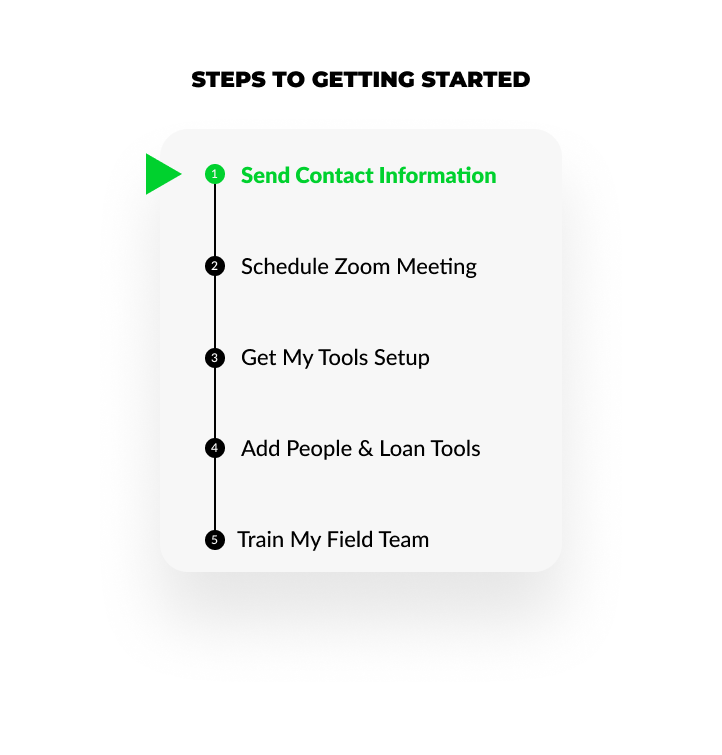
1) Send your Contact Information. Help us help you quicker! After purchasing the software, respond to the initial email with your phone number and mailing address. If someone else will be managing the system for you, please include their contact information as well.
2) Schedule a Zoom Meeting. Think about how you'd like to use the system and come prepared with any questions. We'd love to take a look at your account with you, and explain how to leverage the system to its fullest.
Schedule an Setup & Implementation Meeting here
3) Get My Tools Setup. Items can be setup on the web or on the mobile device. Items can be entered individually, copied from existing items or imported from Excel.
There are four types of items that can be setup. You turn on the different item types under settings.
- Standard Items
- Quantity Items
- Kits
- Consumables
![]() View more details in section: Adding & Editing Items
View more details in section: Adding & Editing Items
Get your Employee's involved in cataloging their tools - Employees can now add Standard Items if "Add Tool" is enabled under the per user settings in the Connections tab. Employees can only create Standard Items and upon creation, the tool is assigned to them. See: Add, Edit, Delete Connections
4) Add People and Loan Tools. Connections are the people who you are loaning tools to. You must have connections setup in order to loan tools and change locations. There are three types of connections:
- Additional Admins
- Employee Roles
- Virtual Roles
Please go to the Connections section of the knowledgebase to see the details on setting up connections: Add, Edit, Delete Connections
5) Train My Field Team. We've created a 12 minute video that will show the basic workflow of ShareMyToolbox from the Employee's point of view. We're always happy to provide additional training via Zoom for you or your team.
> Click here for the Employee Training Video
6) Setup Locations (Optional). Locations are used to manage multiple warehouses. Locations are also used to track jobs and project sites.
Detailed information on location setup can be found under the knowledgebase section: Add, Edit, Delete Locations
7) Setup Notes (Optional). Notes are used to track additional information about an item. Common uses for notes are:
- Damage Notes
- Scheduled Maintenance
- Calibration Tracking
Learn more about setting up and managing notes in the knowledgebase section: Notes Setup on Web
8) Barcodes & Asset Tags (Optional). You can optionally use barcode stickers and asset tags to enable the scanning functionality of ShareMyToolbox. Yes, yes we could have included this under the items setup section. However, we get SO MUCH interest in this area that we gave it some special treatment.
- Key things to remember about asset tags:
- You can use the on some items and not others
- You can always start without tags and go back and add them later
- You can use our tags, use tags already on the tools or mix and match. We can't guarantee that every tag type will work but we work with as many as we can.
Learn more about setting up asset tags and barcodes in the knowledgebase section: Asset Tags, Barcodes and QR Codes